

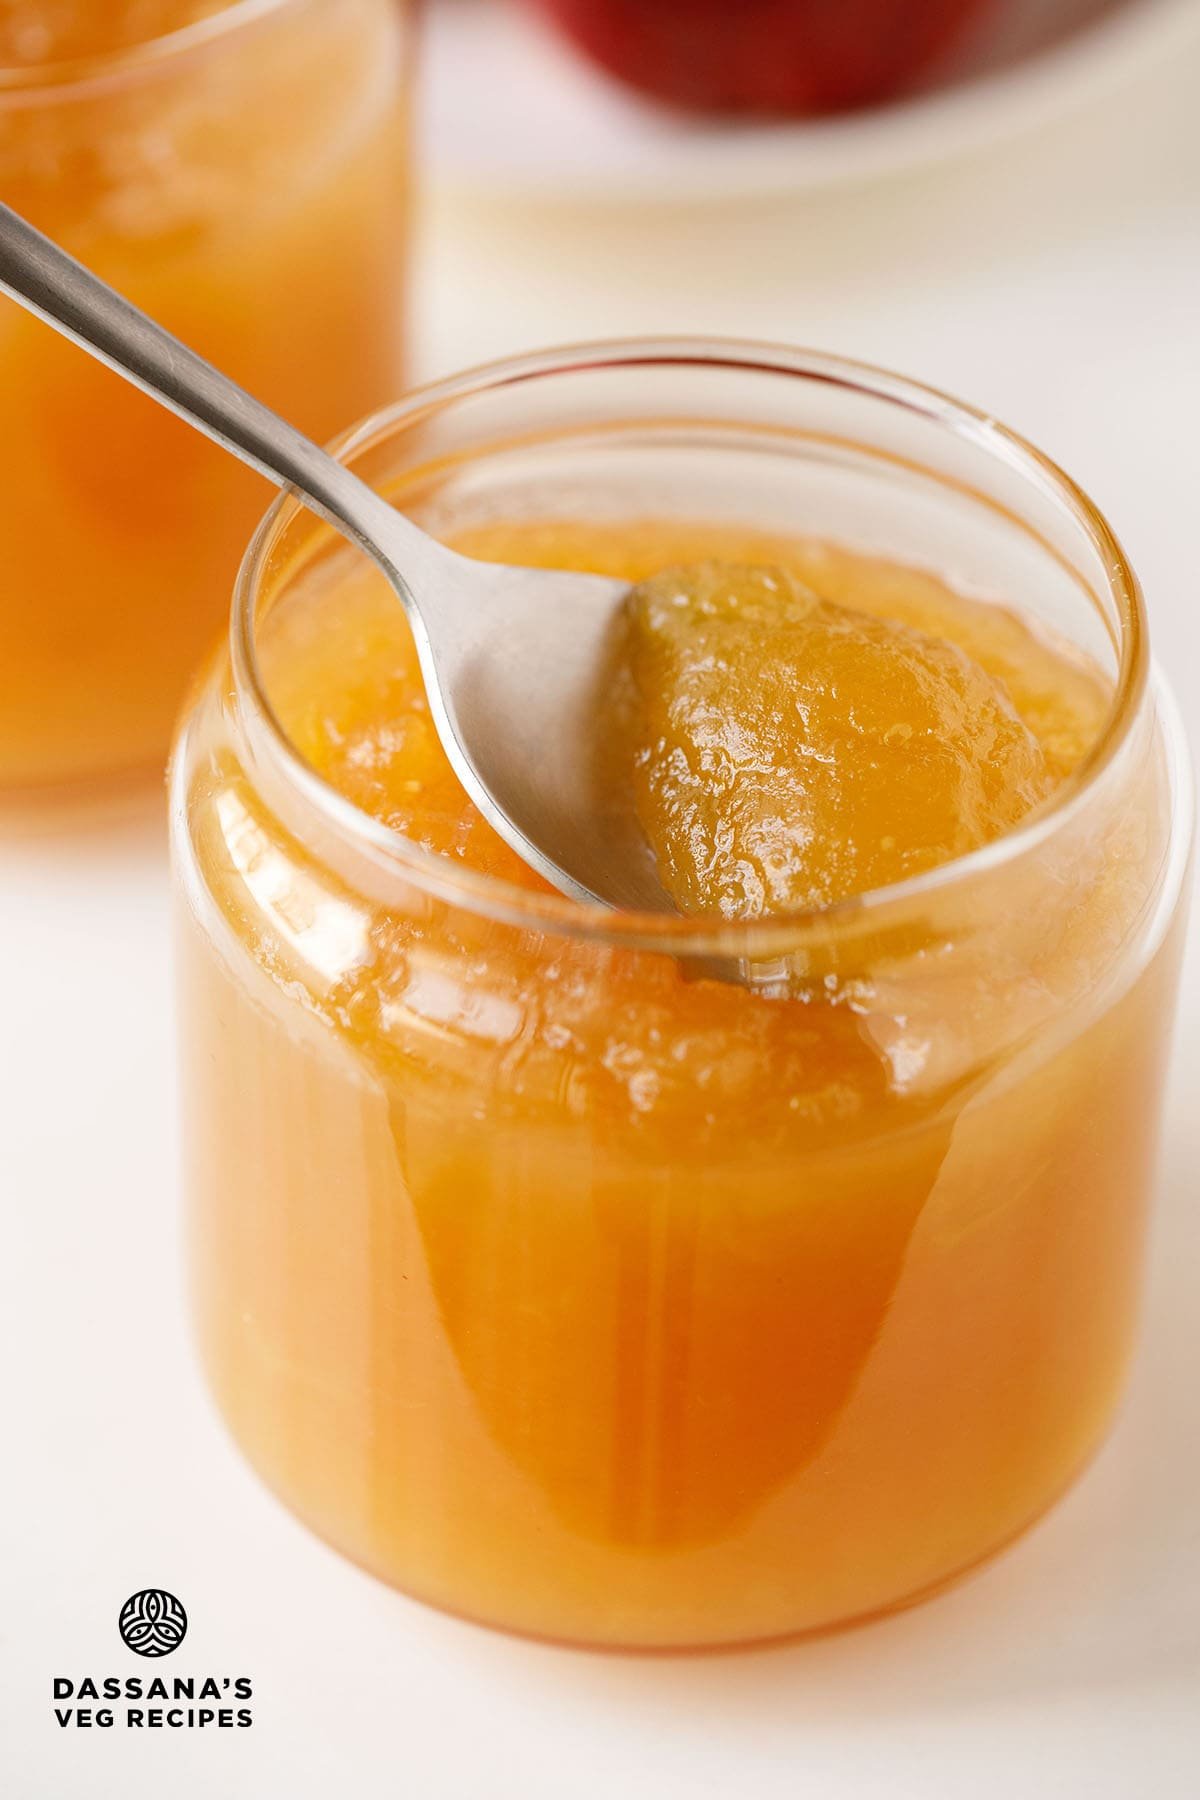
Apple jam is a classic fruit preserve made by slowly cooking apples with sugar and a little fruit based acid until thick and spreadable. It is traditionally prepared on the stovetop, allowing the fruit to release its natural pectin and develop flavor as it cooks. This homemade version is free from artificial pectin and preservatives. Apple jam can be enjoyed as a spread or used in baking and desserts.
About Apple Jam Recipe
This apple jam is made the traditional way, slowly cooked on the stovetop. It is not a quick or pressure-cooked version.
I genuinely feel that jams and preserves turn out best when they are made patiently, the old-fashioned way, allowing the fruit to cook, reduce, and thicken naturally.
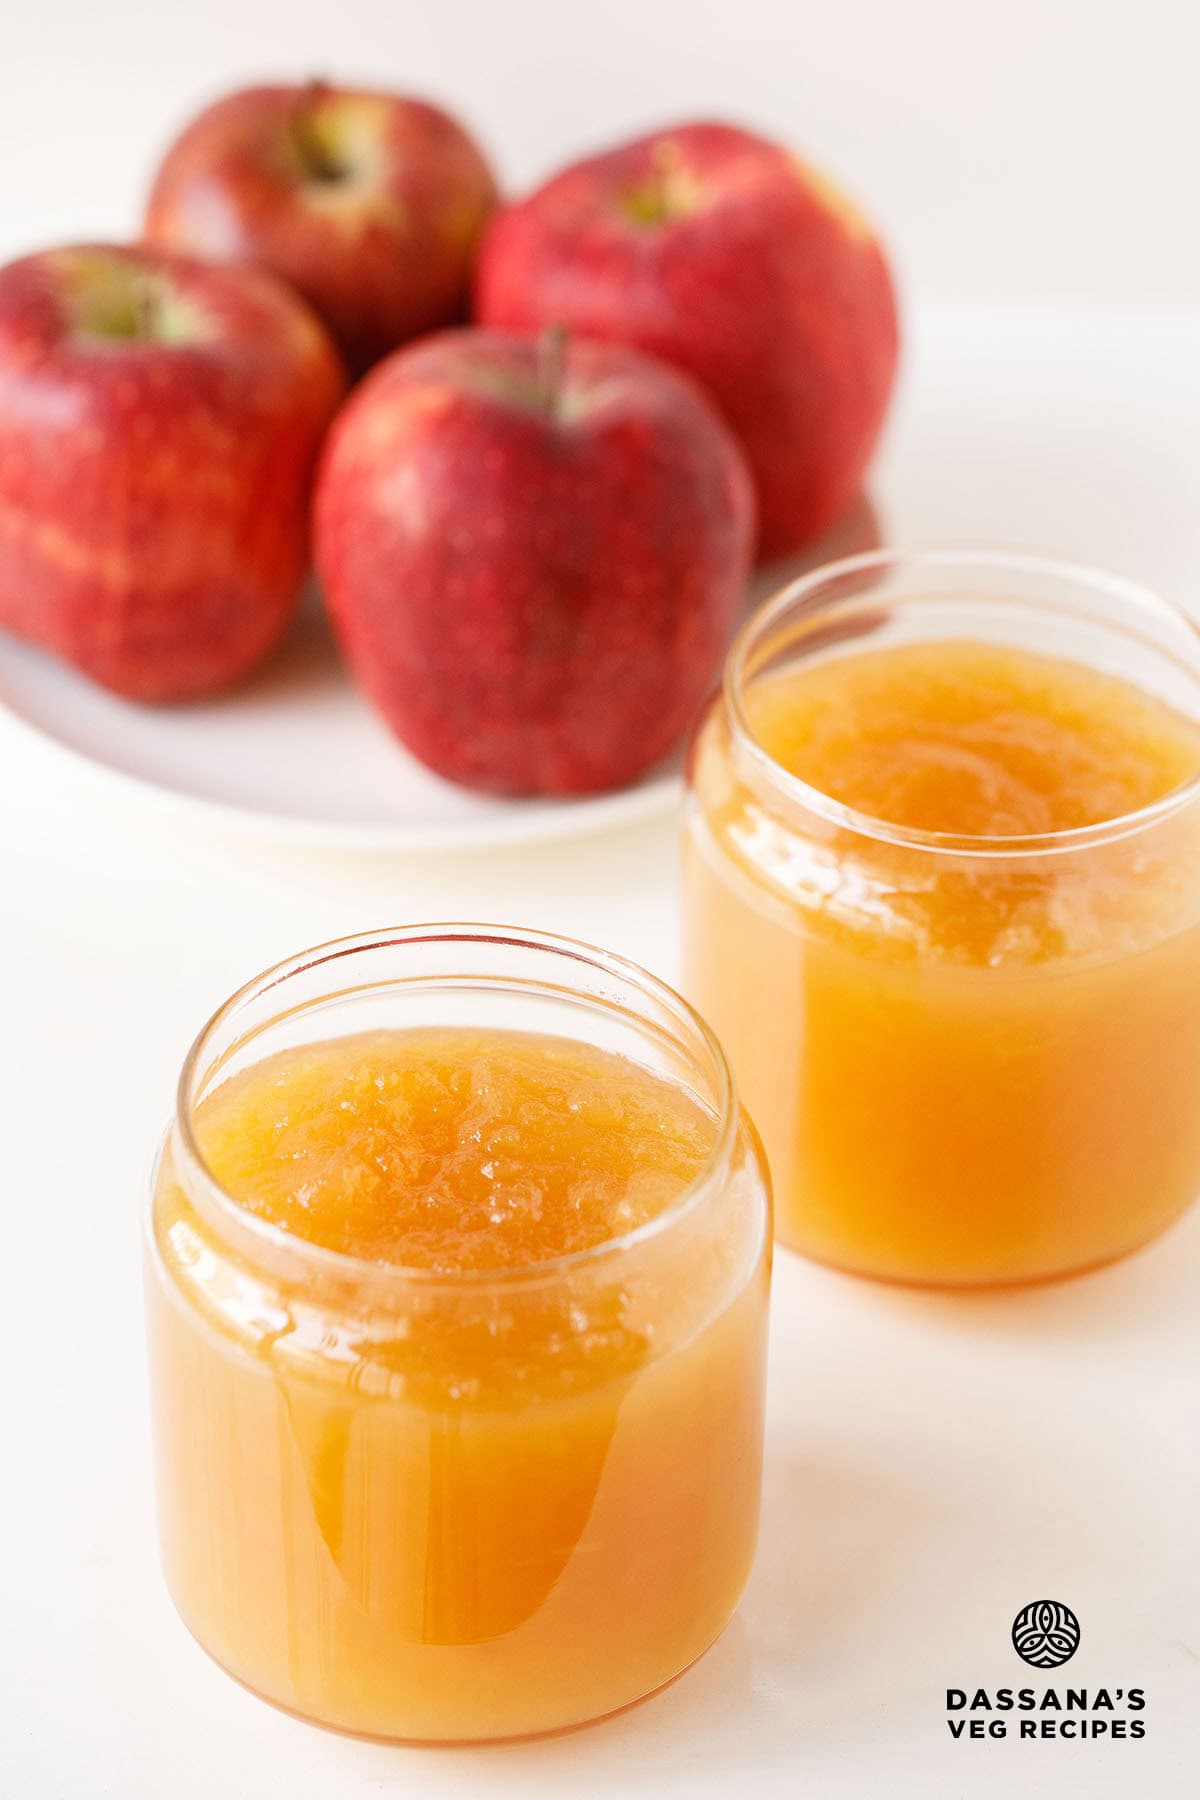
I have used organic sweet red apples for this recipe. These red apples work very well for jam as they have a good balance of sweetness and natural pectin.
You can also use other sweet-tart apples, but avoid very bland or mealy varieties as they don’t give the best flavour or texture.
While making apple jam, it is important to pay attention during cooking, especially after adding sugar. Slow cooking on low heat helps the jam thicken evenly and prevents burning. Rushing the process can affect both flavor and consistency.
You can flavor apple jam in many ways, depending on what you like. Apples and cinnamon pair very well, so you can use either ground cinnamon or a cinnamon stick. In this recipe, I have used a cinnamon stick.
I also added a little vanilla, which I feel pairs beautifully with apples and gives a soft, rounded aroma. Nutmeg can also be added if you like warm spices, but it is completely optional.
Spices and flavorings are not mandatory in apple jam. You can keep the recipe very simple with just apples, sugar, and lemon juice. Think of flavorings as optional additions rather than essential ingredients.
This is a flexible, home-style apple jam recipe that you can adapt easily based on the apples you use and your personal taste.
If you like homemade jams, have a look at my Strawberry Jam and Fig Jam recipe.
Choice Of Apples
Homemade apple jam works best with apples that are sweet or sweet-tart and soften easily when cooked.
Red apples such as Red Delicious, Gala, or Fuji work well for a smooth, mildly sweet jam. You can also use sweet-tart apples like Golden Delicious or Braeburn. Avoid very bland or mealy apples, as they do not give good flavour or texture.
More Recipes With Apples
How To Make Apple Jam (Step-By-Step)
Prepare & Cook Apples
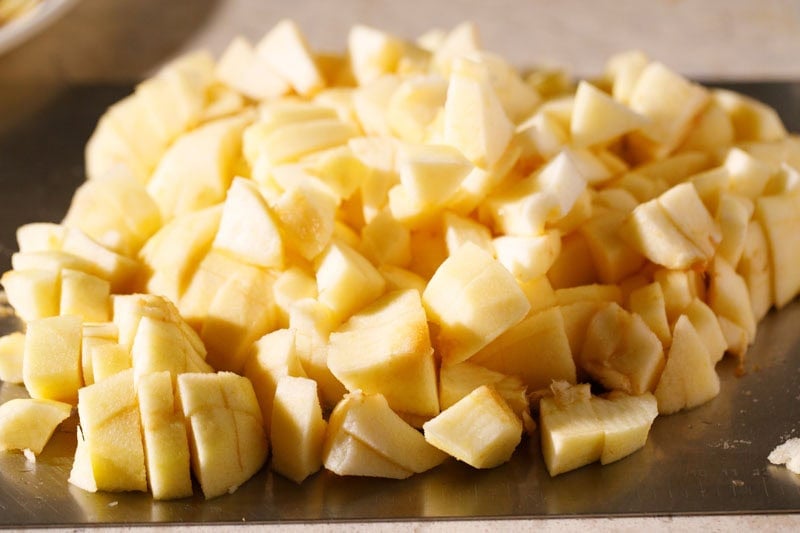
1. Rinse the red apples well.
Peel the apples if you want a smooth jam. You can keep the peels too, but the jam won’t be as smooth.
Core and chop the apples into small pieces. Smaller pieces cook faster and mash easily.
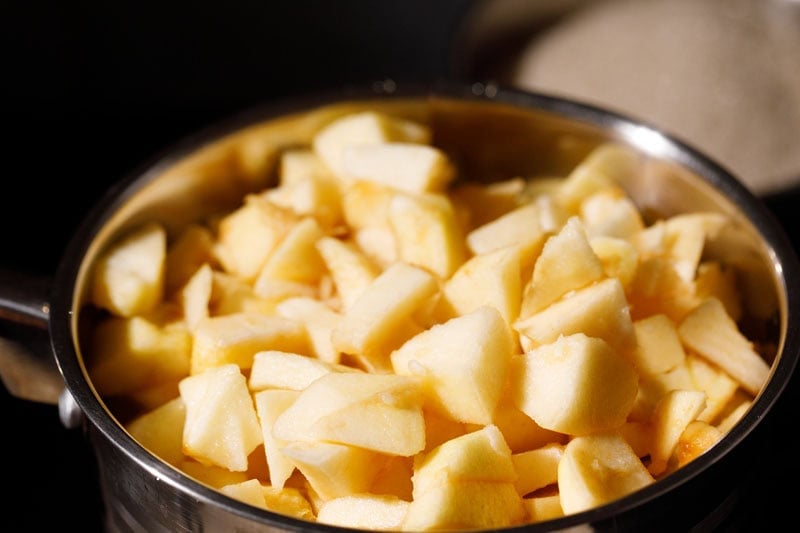
2. Add the chopped apples to a heavy-bottomed, wide pan. Also add ½ cup water.
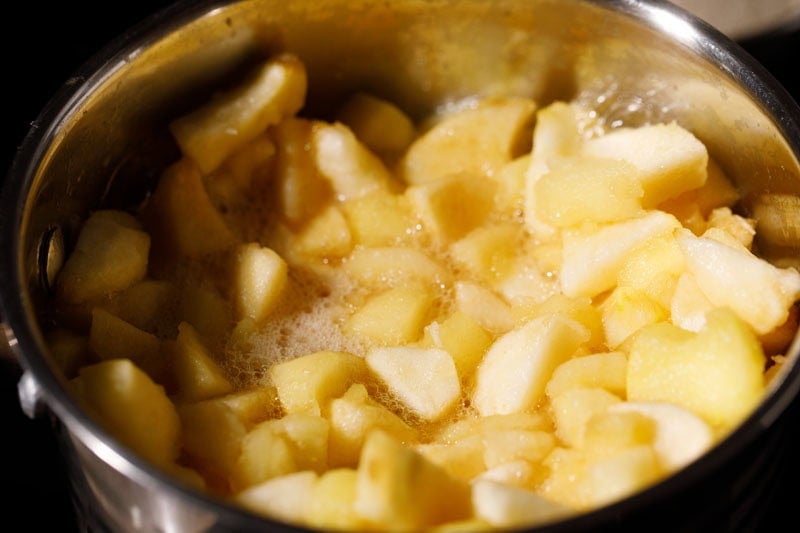
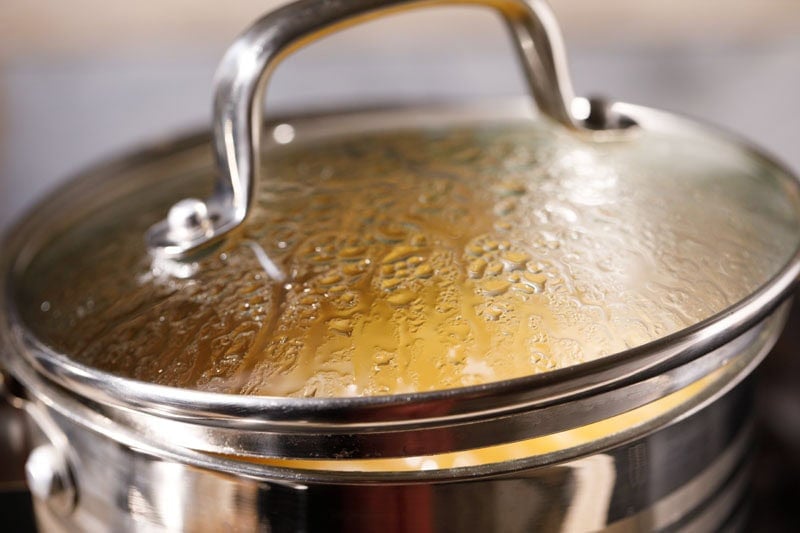
3. Cover the pan with a lid and cook on low to medium heat for about 10 to 12 minutes.
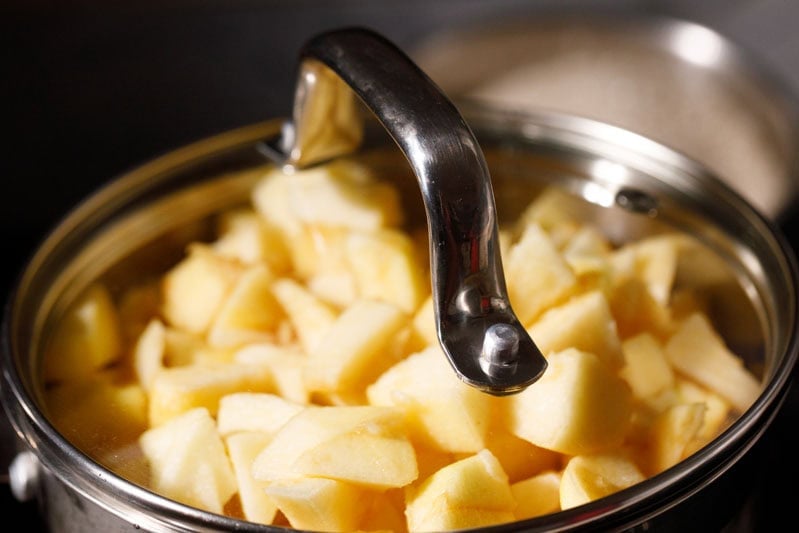
4. Stir the apples every 4 to 5 minutes. Keep the pan covered and continue cooking.
What you should see:
5. Remove the lid. Cook for another 5 to 6 minutes, stirring in between.
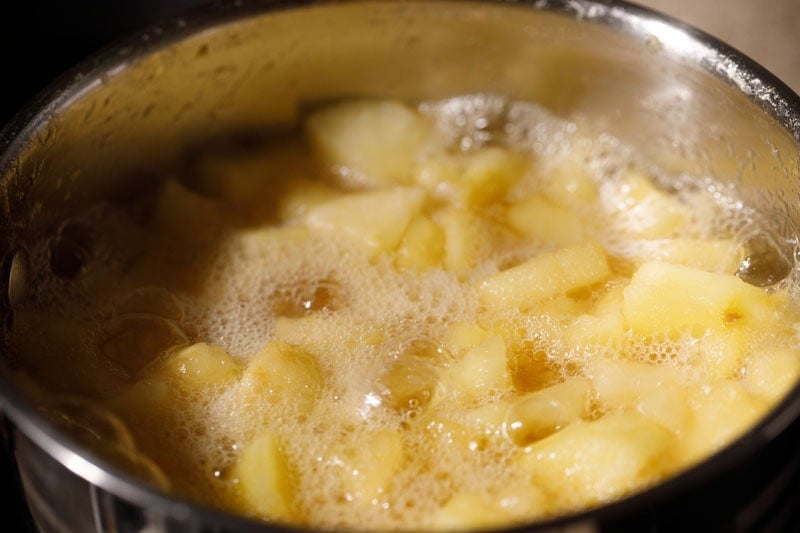
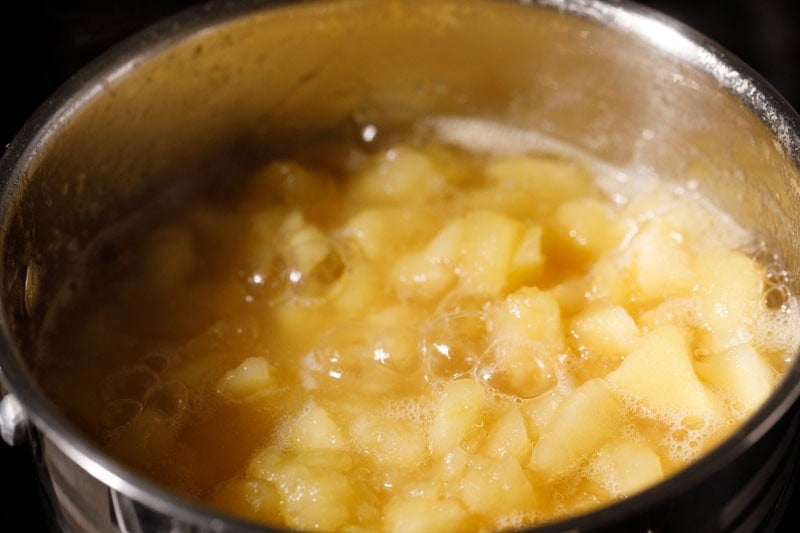
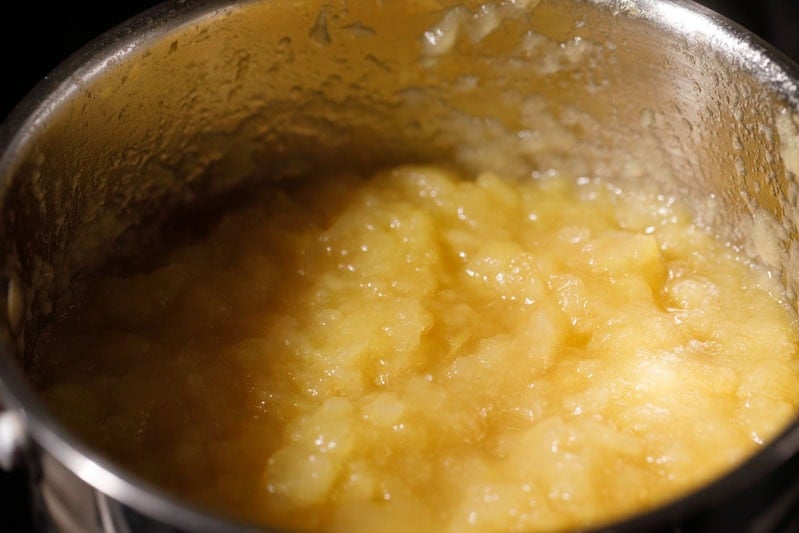
6. Simmer until the apples are completely softened.
What you should look for:
Mash Apples & Add Sugar
7. Switch off heat and then mash the softened apples using a potato masher or spoon.
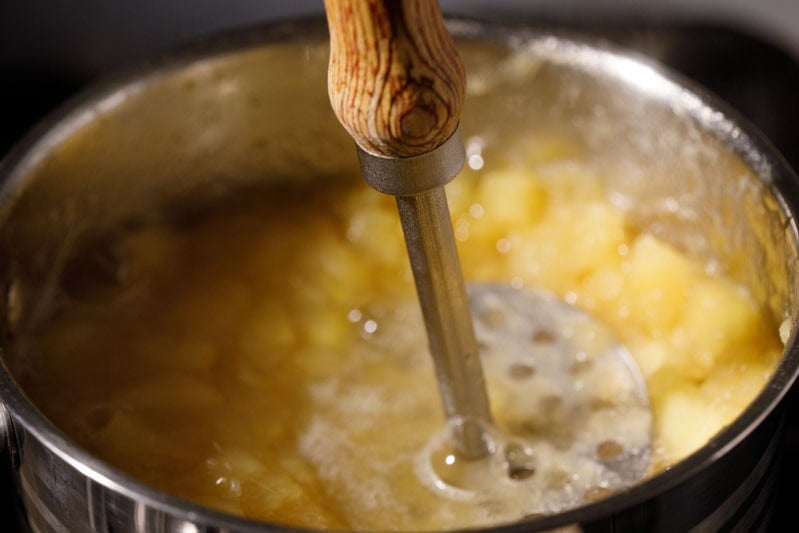
8. You can mash to a fine texture or keep some small chunks of cooked apples if you prefer.
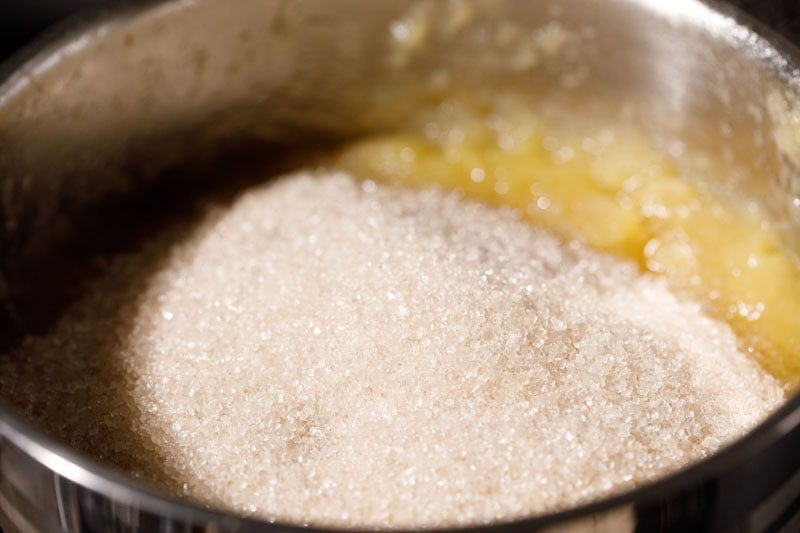
9. Add the sugar (1½ cups / 300 g).
Important point about sweetness: With 300 g sugar for 1 kg apples, the jam has a medium sweet side (depends on apple sweetness). If you personally prefer less sweet jam, next time you can reduce sugar slightly.
How much can you reduce?
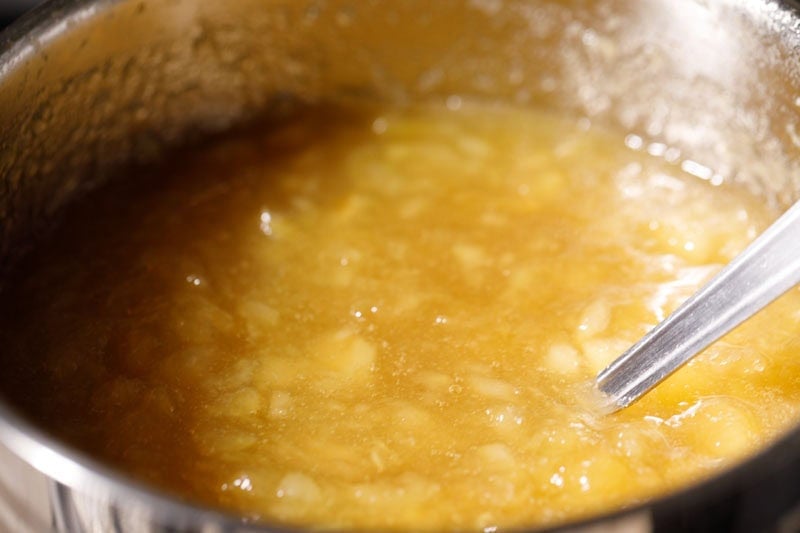
10. Mix the sugar very well. Once it dissolves, the jam mixture will start to look glossy.
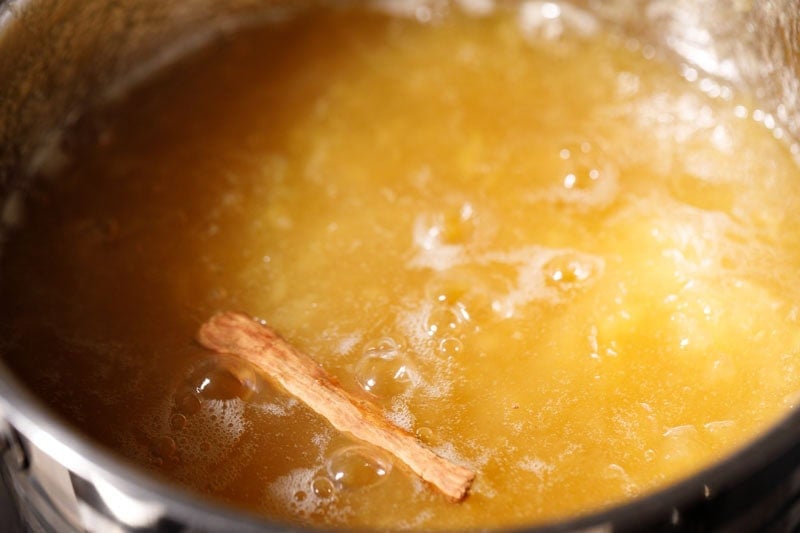
11. Add the 2-inch cinnamon stick. Stir and continue to cook.
Making Apple Jam
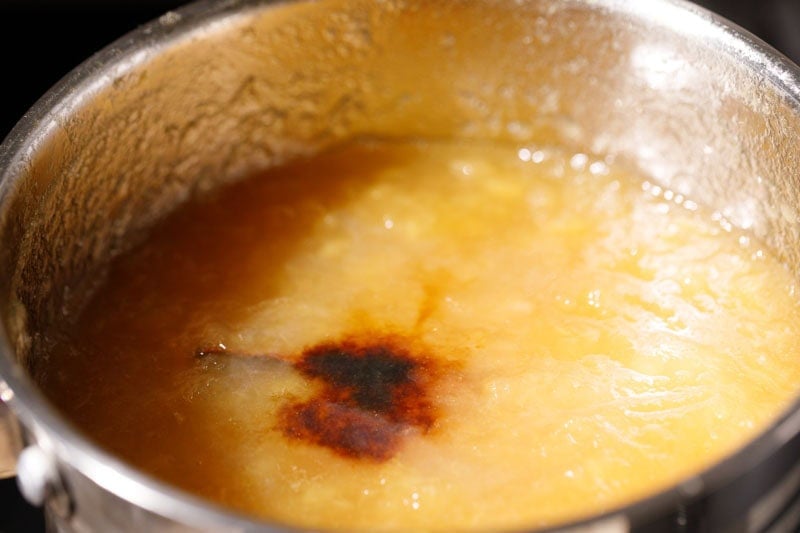
12. Keep the pan mostly uncovered while cooking. If the mixture starts spluttering, partially cover the pan with a lid, leaving a small gap so steam can escape.
Note: Jam thickens only when excess moisture evaporates, so cooking uncovered helps it set properly. Fully covering the pan traps steam and slows down thickening.
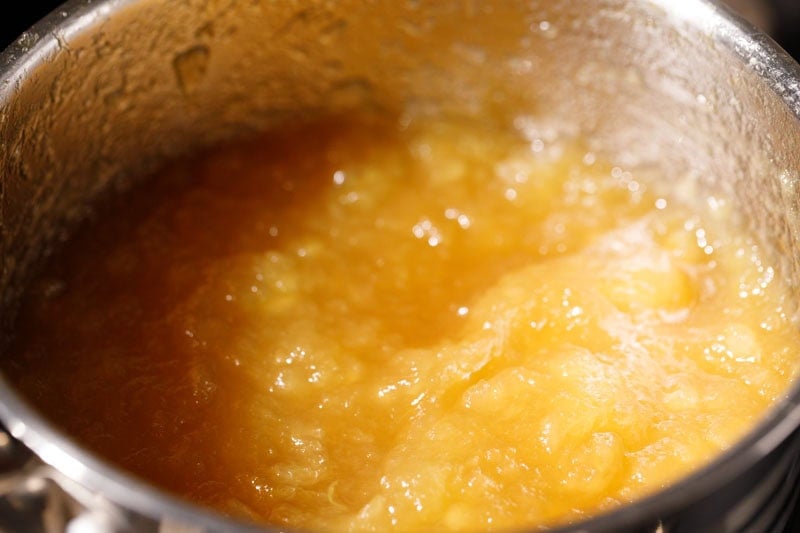
13. Once the jam mixture stops spluttering, remove the lid completely. Continue cooking on low to medium-low heat, stirring regularly.
After adding the sugar, the jam will need about 25 to 30 minutes of total cooking time. Stir more frequently towards the end to prevent the mixture from sticking to the bottom of the pan.
Stirring tips:
What you will notice while cooking:

Add Lemon Juice & Vanilla
14. When the jam has thickened a lot and looks slightly glossy, add 1 tablespoon lemon juice and 1 teaspoon vanilla extract (optional).
Tip: Lemon juice is especially important when using sweet apples, as it balances flavor and supports setting.
15. Mix well and cook for 2 to 3 minutes, or until the jam reaches the desired consistency.
Why add these at the end?
Checking Jam Doneness
16. This is the most important step.
Jam can still bubble even when it is ready, so do not judge doneness by bubbling alone.
Use one or more of the checks below. The plate test is the most reliable.
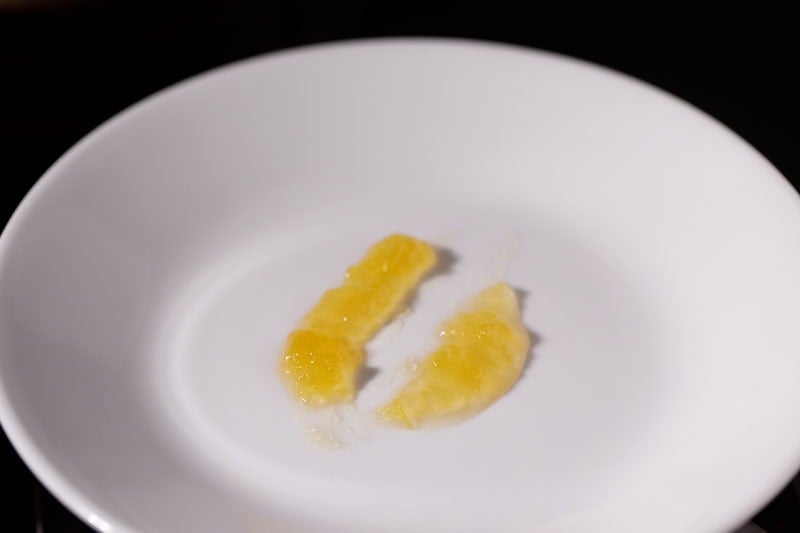
1. Plate test (most reliable)
Place a small spoon of jam on a cold plate.
(Keep the plate in the fridge for 5 minutes beforehand.)
Wait 20 to 30 seconds, then tilt the plate slightly.
The jam is done if:
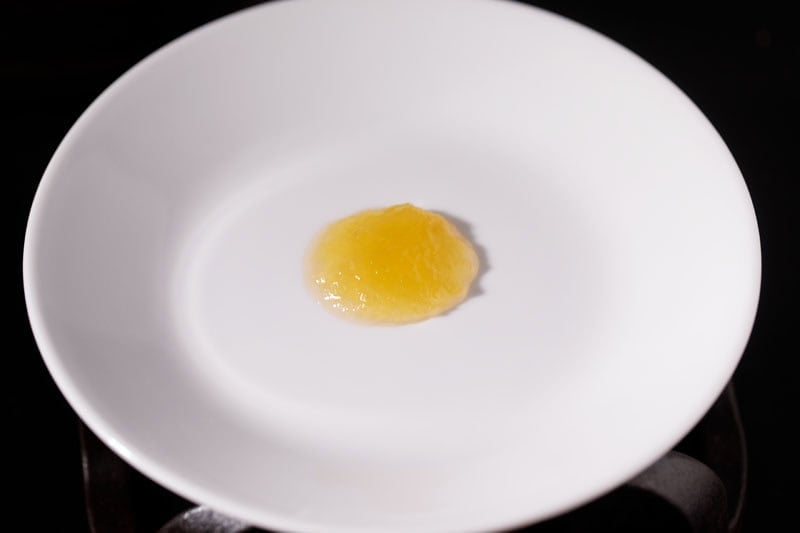
17. Run a finger through the jam. If the line stays clear and you can see the plate underneath, the jam is ready.
2. Spoon test
Lift jam with a spoon and let it fall.
Jam is done if:
3. Pan test
Run a spatula or spoon through the jam in the pan, creating a clear path.
The jam is done if:
4. Wrinkle test
If you keep a small spoon of jam on a plate and push it lightly with your finger:
Jam is done if:
5.Visual Cues (Supportive Check)
These help, but always confirm with the plate test.
The jam is likely done when:
One key point to remember: Even if you see moisture bubbling, the jam may already be set. Always confirm with the plate test.
When To Pour Jam Into Jars
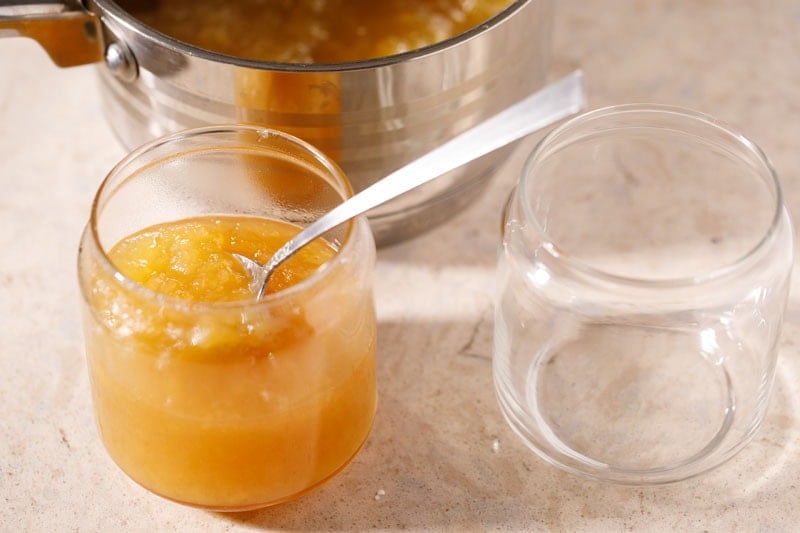
18. Once the jam is done, switch off the heat. Let the jam rest in the pan for about 5 minutes. This settles bubbles and spluttering.
Fill the jam in clean, dry, sterilized glass jars while it is hot. Filling jars with hot jam helps prevent contamination, improves shelf life, and creates a better seal as the jam cools. Remember to remove the cinnamon stick from the jam while filling in jars.
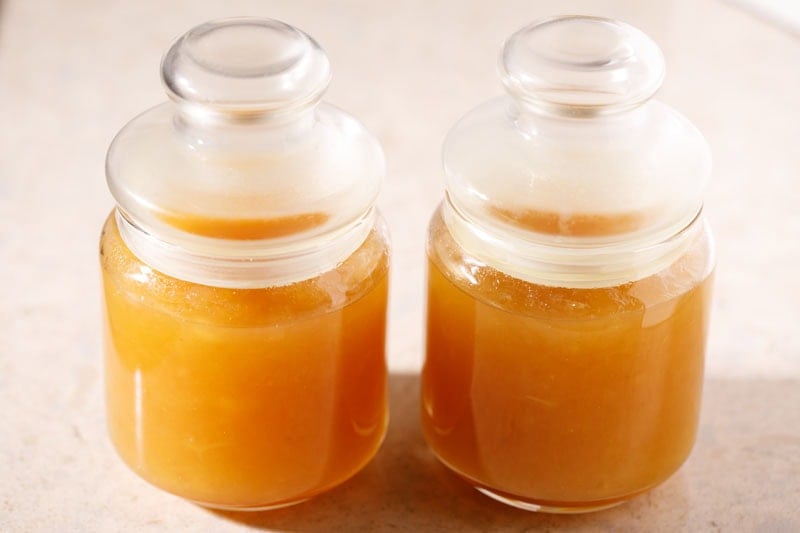
Important note on jars: Always use good-quality, heat-safe glass jars when filling hot jam. Thin or low-quality glass can crack due to sudden temperature change. Make sure the jars are clean, dry, and at room temperature or slightly warm before pouring in the hot jam.
19. After filling, wipe the rim clean, close the lid, and let the jam cool naturally at room temperature.
Yield
From around 1 kg apples, you will get about:
Yield depends on how long you cook it and how thick you keep it.
How To Use Apple Jam
You can use this homemade apple jam in many ways. Spread it on toast, bread, chapati, or paratha for a simple breakfast.
It also works well as a filling for Swiss rolls, cakes like Vanilla Cake or Honey Cake, and thumbprint cookies.
You can swirl it into oatmeal or Oats Porridge, mix it into yogurt, or serve it with breakfast recipes like Pancakes, Buttermilk Pancakes, and Waffles.
The jam’s soft texture and mild sweetness make it easy to use both as a spread and as an ingredient in baking and everyday meals.
Storage
After pouring the hot jam into clean, dry, sterilized jars, seal tightly and let it cool at room temperature. Once cooled, store in the refrigerator and use within 3 to 4 weeks. Always use a clean, dry spoon.
Troubleshooting Tips
- Use the right pan: Always use a heavy-bottomed, wide pan. A wider pan helps moisture evaporate faster, so the jam thickens sooner. Thin pans can cause the jam to stick and burn easily.
- Cook slowly: Apple jam should be cooked on low heat. Slow cooking improves flavor and color and reduces the risk of burning.
- Adjust the sugar carefully: Using 300 g sugar works well for most people. If you prefer a less sweet jam, you can reduce the sugar slightly next time. Avoid reducing it too much, as very low sugar can affect setting and shelf life.
- Cooking time may vary: The cooking and setting time for apple jam can vary depending on several factors, such as the amount of sugar used, the natural sweetness of the apples, their juiciness, and how fresh or firm the apples are. Very juicy or freshly harvested apples may release more moisture and take slightly longer to thicken, while less juicy apples may set faster. Always rely on the doneness tests rather than time alone to decide when the jam is ready.
- Lemon juice matters: Lemon juice is better than vinegar for apple jam. It helps the jam set, balances the sweetness, and keeps the flavor clean and fresh.
- Do not rely only on bubbling: Jam can continue bubbling even when it is ready. Always use the plate test as the final check to confirm doneness.
- Preservation and shelf life: Homemade jams usually have a shorter shelf life than store-bought ones. For better keeping quality, cook the jam to a proper thick consistency, use clean and dry sterilized jars, and always use a clean, dry spoon when serving.
- Note on canning: If you are familiar with proper canning methods, the jam can also be processed using a standard water-bath canning technique to make it shelf-stable. Always follow tested canning guidelines and recommended processing times for fruit jams.
Recipe Q&A
1. Why is my apple jam not setting?
Jam may not set if the sugar is too low, the jam is undercooked, or it was cooked on high heat without enough moisture evaporating; cook it longer on low heat and check again using the plate test.
2. Do I need pectin?
No. Apples have natural pectin. Slow cooking plus lemon juice helps the jam thicken well.
3. My jam looks like it has moisture bubbling. Is it still not done?
Not necessarily. Jam can bubble even when it is set. Always do the plate test. If it sets on the plate and does not spread, the jam is done.
4. Can I skip cinnamon and use vanilla only?
Yes. Vanilla works very well with apples. For 1 kg apples, 1 teaspoon vanilla extract is enough.
5. Can I reduce sugar a lot?
You can reduce the sugar slightly, but reducing it too much can affect the setting, shelf life, and texture of the jam.
Making Apple Jam
-
Rinse the apples well. Peel them for a smooth jam. Core and chop into small pieces or cubes.
-
Add the chopped apples and water to a heavy-bottomed, wide pan.
-
Cover the pan and cook on low to medium heat for 10 to 12 minutes, stirring a few times, until the apples start softening.
-
Remove the lid and cook for another 5 to 6 minutes or until the apples are completely soft and mash easily.
-
Turn off the heat. Mash the apples using a potato masher or spoon.
-
Add the sugar and mix well. Keep the heat low to medium-low.
-
Add the cinnamon stick and stir.
-
Cook the jam uncovered for 25 to 30 minutes, stirring often, until it thickens and looks glossy.
-
Add lemon juice and vanilla extract. Mix well and cook for 2 to 3 minutes more, or as needed, until the jam is done.
-
Check the jam for doneness (see tests below).
-
Pour the hot jam into clean, dry, sterilized glass jars. Close the lids and let cool naturally. Remove the cinnamon stick while bottling the jam.Note: Use good-quality, heat-safe glass jars. Thin or cold jars may crack when hot jam is poured in.
Jam Doneness Test
-
Use one or more of these tests to check the jam doneness:1) Plate test: Place a small spoon of jam on a cold plate. Let it cool for 20 to 30 seconds, then tilt the plate slightly. The jam is done if it sets and does not spread. When you run a finger through the jam, it should separate clearly and the plate underneath should be visible.2) Spoon test: Lift jam with a spoon and let it fall. The jam is ready if it falls slowly in slightly thick sheets, not in a thin stream.3) Pan test: Draw a line through the jam with a spoon in the pan. If you can see the bottom of the pan, the jam is ready.4) Visual cues: Even if you see some moisture bubbling, the jam can still be done. If it looks thick, glossy, and passes the plate test, it is ready.
Serving & Storage
-
Serve apple jam as a spread on toast, bread, or paratha. It also works well as a filling for cakes, cookies, and pastries, or stirred into porridge or yogurt.
-
After pouring the hot jam into clean, dry, sterilized jars, seal and let it cool at room temperature.
-
Store in the refrigerator and use within 3 to 4 weeks. Always use a clean, dry spoon.
- Use sweet or sweet-tart apples such as Red Delicious, Gala, Fuji, or Golden Delicious. Avoid very bland or mealy apples.
- Use a heavy-bottomed, wide pan for even cooking and faster thickening.
- Cook the jam on low heat to medium-low heat after adding sugar to prevent burning.
- Apples vary in sweetness. You can slightly reduce sugar next time if using very sweet apples, but avoid reducing it too much or the jam may not set well.
- Cooking time may vary depending on the sweetness, juiciness, and freshness of the apples and the amount of sugar used. Always check doneness using the plate test
- Lemon juice helps with setting and balances sweetness. Do not skip it.
- Spices are optional. Cinnamon pairs well with apples, and vanilla adds a soft aroma.
- Always pour jam into clean dry jars while hot for better shelf life.


